


Care guides › How to take a perfect impression
How-to guide
How to take a perfect impression
Your impression is the blueprint for your custom-fit guard. Five minutes and a few simple checks get it right the first time.
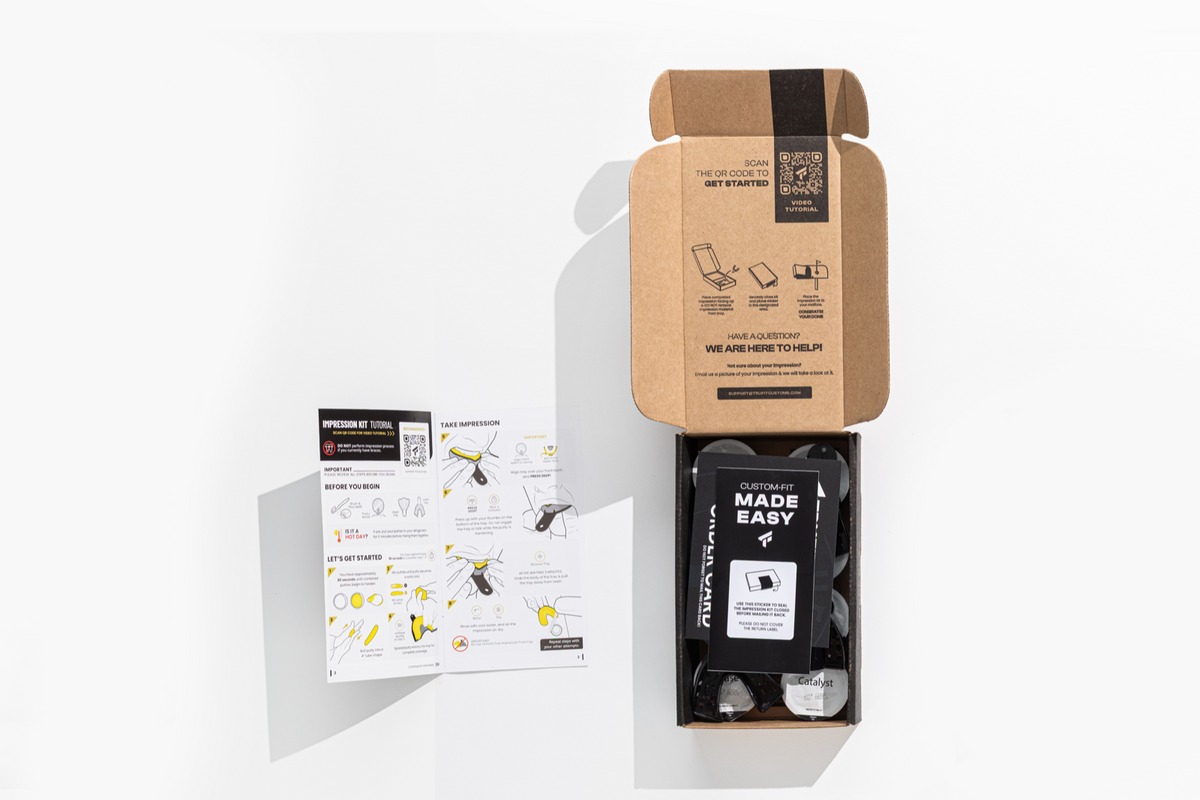

Never use the impression kit with braces
The putty can lock around brackets and damage them. If you have braces, visit your orthodontist for a digital scan of your teeth and email the STL file to support@trufitcustoms.com. We make your guard from the scan. Mouthguards with braces
Read more
The putty can lock around brackets and damage them. If you have braces, visit your orthodontist for a digital scan of your teeth and email the STL file to support@trufitcustoms.com. We make your guard from the scan. Mouthguards with braces
Why it matters
A great fit starts here
A clear, complete impression is the foundation of your custom-fit guard. We inspect every impression before production. Taking a few extra minutes now helps avoid retakes and keeps your order on track.
Before you start
Do
- Read the instruction card first
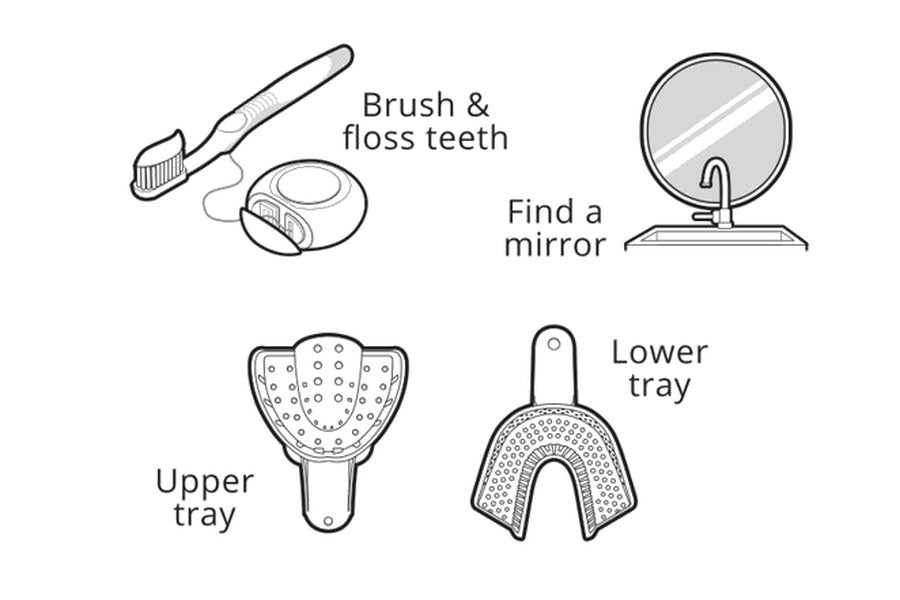
- Brush, floss, rinse, and gently pat your teeth dry
- Find a mirror and try the empty tray
- Hot day? Chill the putties for 5 minutes
Don’t
- Bite down into the putty
- Wiggle the tray or talk while it sets
- Remove the tray before the full setting time
- Take the impression out of the tray

Inside your kit
Everything you need
- Impression traysTwo upper trays and two lower trays.
- Base and catalyst puttyEnough putty for four impression attempts.
- Step-by-step instructionsAn instruction card with a link to the video tutorial.
- Return shippingSend your impressions back in the original box.
Watch first
See it done in 3 minutes
Our step-by-step video tutorial walks you through the whole kit, from mixing the putty to checking your impression. Watch it once before you open the putty.
- What is in the box
- Mixing the base and catalyst
- Loading the tray and pressing it in
- Checking and packing your impression
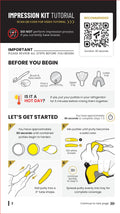

 Prefer the printed card?Click through all 7 pages of your kit card.
Instruction card
Follow along page by page
The same step-by-step card that comes in your kit. Open it here and click through all 7 pages while you work.
7 pages · Tap any page to open


Swipe or tap the arrows
Step by step
Take your impression
About 5 minutes
Read all steps before starting. From the moment you mix, you have about 80 seconds to get the tray in place (steps 2 to 5) before the putty starts to harden.
The key to a great fit
Press deep.
Never bite.
- Line up your front teethUse a mirror to center your front teeth in the front of the tray.
- Use your thumbsPress the tray firmly over your teeth using your thumbs—not your jaw.
- Press deepYour teeth can gently touch the bottom of the tray.
- Hold still for 3 minutesKeep the tray steady while the putty sets to capture a clear impression of your teeth and gumline.
Ready before you mix
Open everything and have your tray ready. Once you mix the putty, the clock starts. Hot day? Chill the putties in the fridge for 5 minutes before mixing.
- 1
Step 1
Get ready
Brush, floss and rinse your teeth, then gently pat them dry with a tissue. Find a mirror and try the empty tray to check the fit before mixing.
- 2
Step 2
Mix the putty
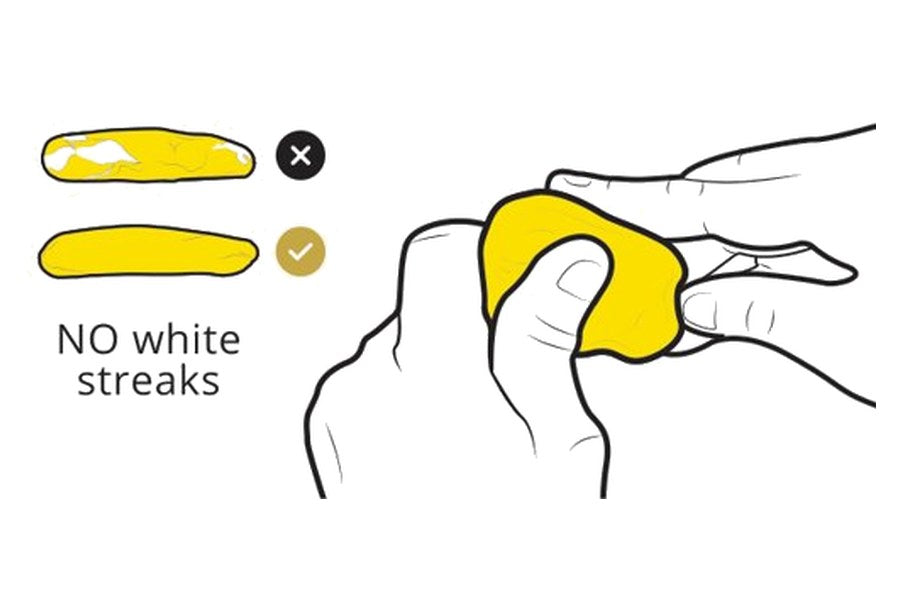
Knead equal parts of the base and catalyst putty until the color is uniform, with no white streaks.
- 3
Step 3
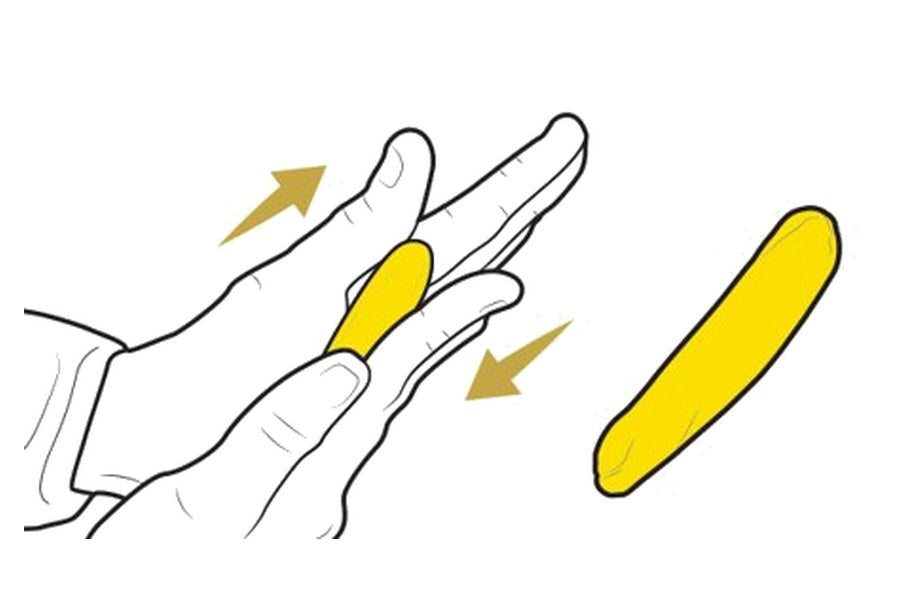
Roll it into a tube
Roll the mixed putty into a tube about 4 inches long.
- 4
Step 4
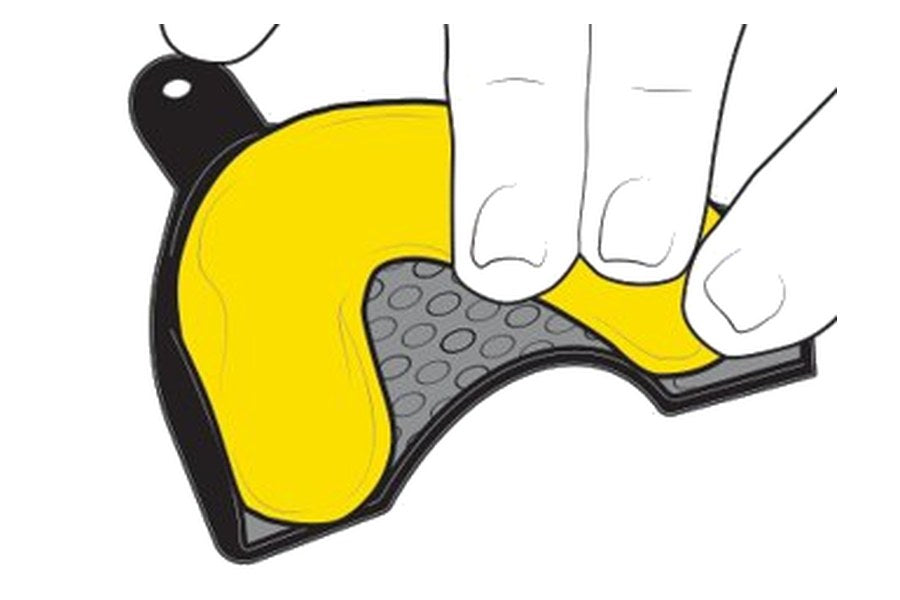
Load the tray
Immediately spread the putty evenly into the tray for complete coverage. Work quickly—it starts setting as soon as you mix.
- 5
Step 5
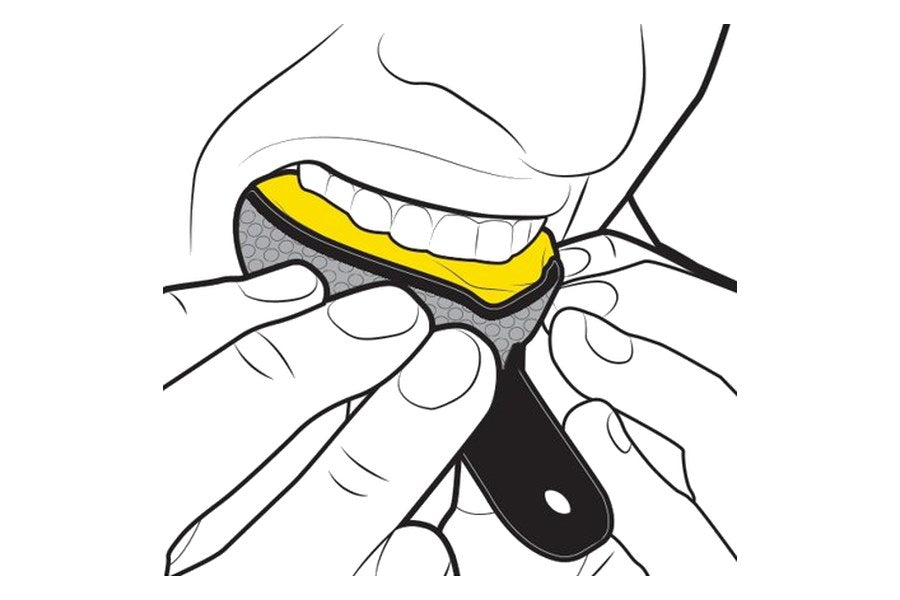
Align and press deep
Use the mirror to line up your front teeth with the front of the tray. Use your thumbs to press it firmly into place—do not bite down. PRESS DEEP: your teeth can gently touch the bottom of the tray.
- 6
Step 6
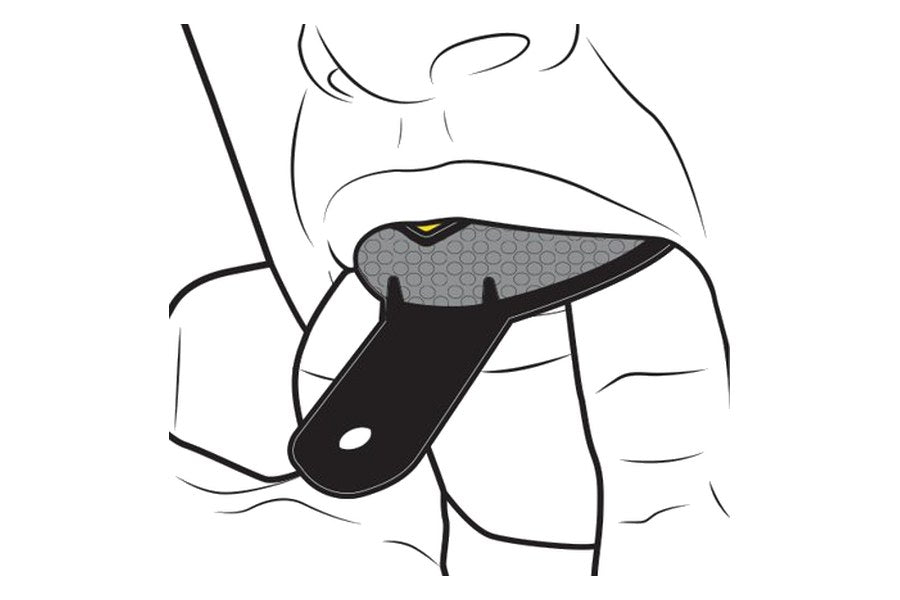
Hold for 3 minutes
Keep pressing up on the bottom of the tray with your thumbs. Do not wiggle the tray or talk while the putty sets.
- 7
Step 7
Remove, rinse and dry
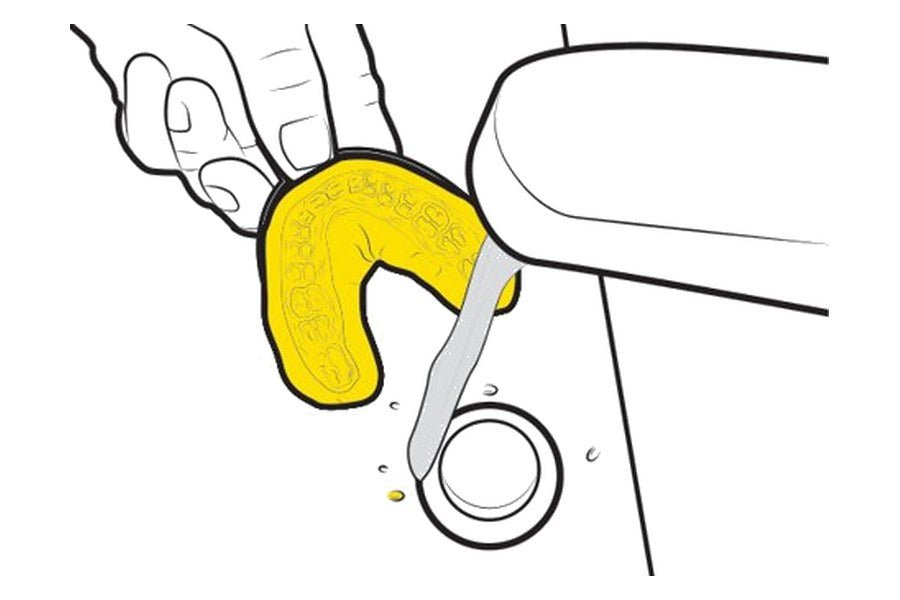
Grab the body of the tray and pull it straight away from your teeth. Rinse with cool water and let it air dry. Do not remove the impression from the tray.
Swipe for all 7 steps →
The key to a great fit
Press deep.
Never bite.
- Line up your front teethUse a mirror to center your front teeth in the front of the tray.
- Use your thumbsPress the tray firmly over your teeth using your thumbs—not your jaw.
- Press deepYour teeth can gently touch the bottom of the tray.
- Hold still for 3 minutesKeep the tray steady while the putty sets to capture a clear impression of your teeth and gumline.
Ready before you mix
Open everything and have your tray ready. Once you mix the putty, the clock starts. Hot day? Chill the putties in the fridge for 5 minutes before mixing.
Check your work
Ready to send?
Check your impression against the points below before packing it.
Good to go
- Clear impressions of your teeth and gumline
- No stretching, smearing, or drag marks
- Smooth surface with no bubbles or tears
- Consistent depth across the impression
Try again if
- Teeth or gumline details are missing
- The impression looks stretched or distorted
- Bubbles, tears, or smears obscure the details
- The putty started setting before you positioned the tray
 Your impression helps us create your custom-fit guard.
Impression examples

A good impression
- Gum line defined
- No distortion
- No white streaks
- Pressed deep
Leave it in the tray, rinse with cool water and let it air dry.
Common mistakes

Front teeth not aligned
Teeth sat too close to the front of the tray. Center your front teeth before pressing.

Too shallow
Press deep. Your teeth can gently touch the bottom of the tray.

Tray is too small
The front of the arch does not fit in the tray. Contact us for a larger tray.

White streaks
Mix until the putty is one solid color. No white streaks.
Before you mail it
Submit photos of your impression
Take 4 photos of your impression so our team can review it before you mail it back. Use bright light, a plain background and keep each photo in focus.
Mailing back an impression we cannot use means a $15 fee for a new kit. Not sure about yours? Send us photos first. If it needs a retake, we send you new material for free.
After you mail it
What happens next
Mail it back
Place your impressions securely in the kit and seal it with the included sticker. Do not cover the return label. Drop it in a mailbox or at the post office. Arrives in 2 to 4 business days (1 to 3 expedited).
We check every impression
If one is unusable, we let you know before anything is made. A new kit for an impression mailed back without a photo review costs $15.
We make your guard
We scan your impressions and make your guard in 3 to 5 business days, then ship it to you: 3 to 5 business days (1 to 3 expedited).
Good to know: if you choose to go ahead with an impression we flagged as faulty, the 30-day warranty and the Perfect Fit Guarantee do not apply to that product.

Welcome back
Ordered with us before?
4.6 · 561 reviews
With your scan on file, reorder your Sports Mouthguard or any other custom-fit dental product in one click, no new impression needed. Same fit, saved in your TRUFIT dashboard.
$107
Returning-customer price

Custom-fit protection
Get a guard
made for you
4.6 · 561 reviews
From $178
Returning customers $107 with a scan on file
FAQ
Frequently asked questions
How many attempts do I get?
Every kit includes 4 attempts: 2 upper and 2 lower. If you do not need a lower impression, you can use the extra putty to take 4 upper attempts instead. Send all of your attempts back to us and we will use the best one. Not sure about them? Send us a photo to confirm before you mail your kit back.
How do I know if my impression is good?
All your teeth and gums should be printed clearly with no distortion, no bubbles and no tray showing through the putty. Do not worry about your rear molars: they are removed from the final design.
Should I take the impression out of the tray?
No. Leave the impression in the tray. Rinse it with cool water, let it air dry and pack it in the kit.
What if the tray is too small?
If the front of your arch does not fit inside the tray, contact support@trufitcustoms.com and we will send you a larger tray.
What if all my attempts go wrong?
Send photos of your impressions for review before you mail them. If they need a retake, we send you new material for free.
Can I use the impression kit with braces?
No. The putty can lock around brackets and damage them. Visit your orthodontist for a digital scan of your teeth and email the STL file to support@trufitcustoms.com. We make your guard from the scan.
What happens if my impression is faulty?
We will let you know and send a new kit for a $15 fee. You can avoid the fee by sending us photos before you mail your kit back: if a retake is needed, new material is free. If you choose to go ahead with a faulty impression, the 30-day warranty and the Perfect Fit Guarantee do not apply to that product.
Do I need a new impression to reorder?
No. Your scan stays on file, so you can reorder any custom-fit product without a new kit.
Still have a question? Visit the Help Center
Keep reading
More care guides
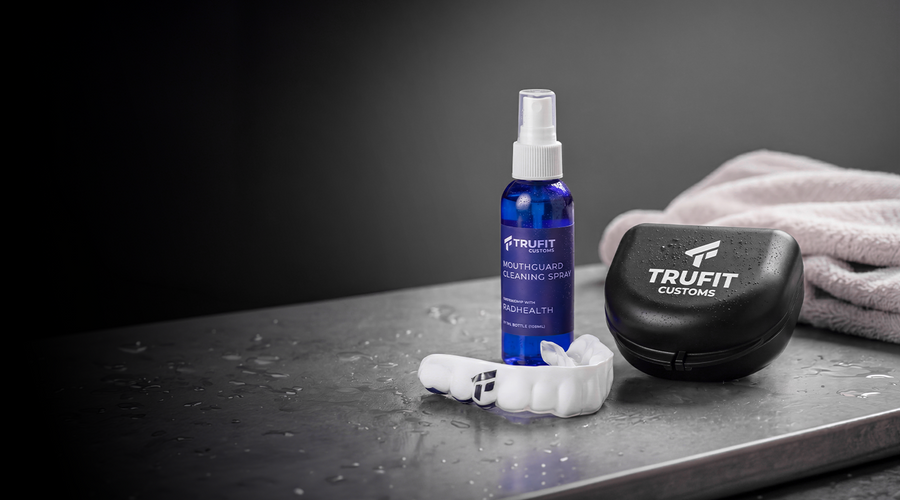 How to clean a mouthguard30-second routine and weekly deep cleanRead the guide
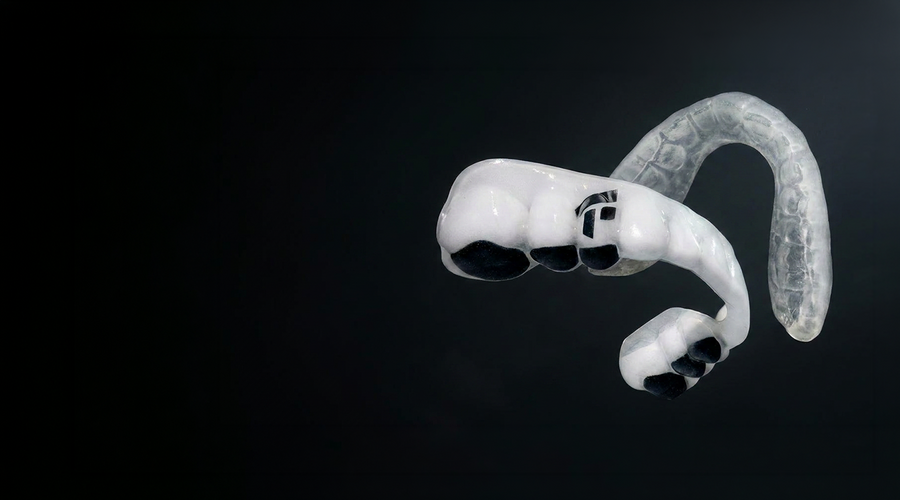 Custom-Fit vs Boil & BiteFit, protection and lifespan comparedRead the guide
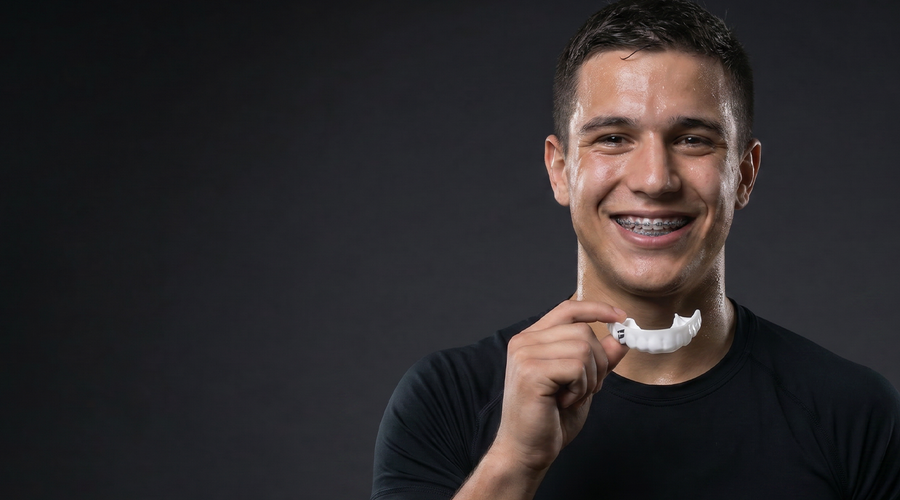 Mouthguards with bracesDuring treatment and afterRead the guide
 When to replace your guardSix warning signsRead the guide
 Nightguard & retainer careKeep clear appliances clearRead the guide
Swipe for all 5 guides →